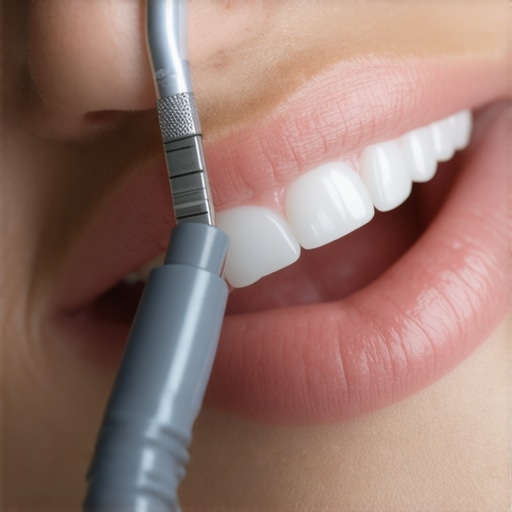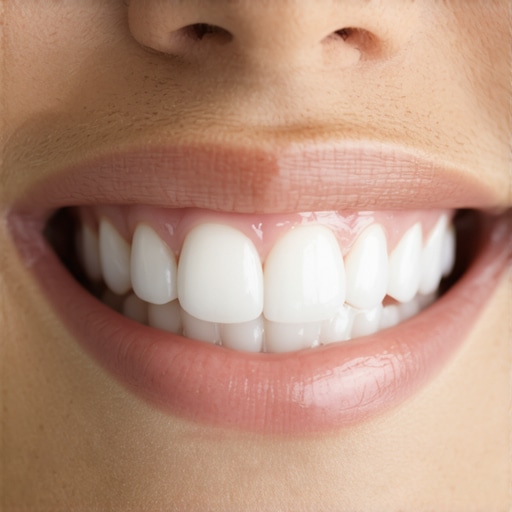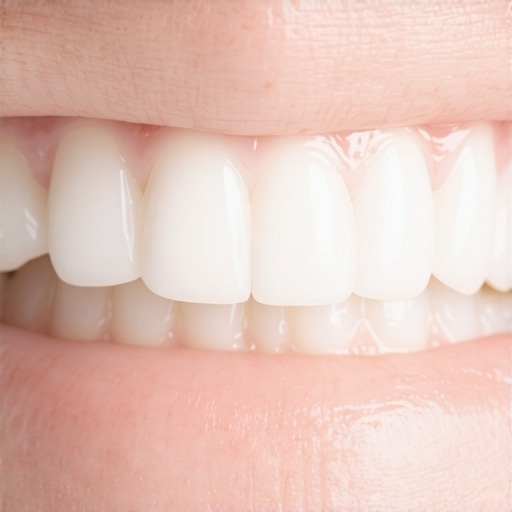
I was standing in front of my bathroom mirror, peering so closely at my reflection that my breath fogged up the glass. I’d just finished a week-long effort to brighten my smile using those drugstore whitening strips we all see in commercials. I peeled the last one off, expecting a Hollywood glow, but instead, I saw something terrifying. My gums weren’t their usual healthy pink. They were stark, ghostly white. I felt a cold pit of dread in my stomach. Had I literally bleached the life out of my mouth? I’ve been there, and if you’re reading this while staring at a pale gum line in your own mirror, take a deep breath. You aren’t going to lose your teeth, but you did just experience a classic ‘over-eager’ mistake that I know all too well. Today, I’m going to walk you through exactly why this happens and how you can get your smile back to normal without the panic.
My Ghostly White Gum Disaster and What It Taught Me
That morning, I realized I had made a rookie mistake. In my quest for a brighter smile, I thought more was better. I left the strips on for forty-five minutes instead of the recommended thirty. I even let the gel squish up past my teeth onto the soft tissue. It turns out, that stinging sensation I ignored wasn’t ‘the power of oxygen’—it was a chemical burn. The American Dental Association (ADA) confirms that hydrogen peroxide, the active ingredient in most whitening products, can cause temporary tissue blanching if it remains in contact with the gingiva for too long. It’s a common mishap seen in family dentistry, yet it still feels like a catastrophe when it happens to you. You might find that your gums feel a bit tender or even slightly ‘sloughy,’ similar to how to treat a burn on the roof of your mouth from a slice of hot pizza.
Is the Damage to My Gums Actually Permanent?
This is the big fear, isn’t it? You worry you’ve scarred your mouth for life. The good news is that the human mouth is incredible at healing itself. That white appearance is usually just a superficial reaction where the peroxide has oxidized the top layer of your gum tissue. It’s not a permanent stain, and it’s certainly not a sign that you need to run out and get crowns to transform your smile just yet. However, it is a massive wake-up call to look at the safest way to use whitening strips before you try again. Have you ever looked in the mirror after a beauty treatment and thought you’d absolutely ruined everything? Trust me, I’ve been there too. Let’s talk about how to soothe that irritation and get your oral health routine back on track so those gums return to their healthy, rosy selves by tomorrow morning.
Stop the Chemical Reaction Immediately
The moment you notice those ghostly white patches, the clock is ticking. Your first move must be to flush the area with lukewarm water. Do not use ice-cold water, as the temperature shock can aggravate the already sensitized nerves. Think of a peroxide burn like a minor kitchen mishap; you need to neutralize the ‘heat’ of the chemical. During my most recent whitening attempt, I felt that familiar sizzle and immediately used a soft, wet cloth to wipe the excess gel away from the tissue. This simple act stops the oxidation process in its tracks. If you leave it, the peroxide continues to penetrate deeper into the gingival layers. You can read more about why your gums look pale instead of pink to understand how this chemical reaction temporarily displaces oxygen in your tissue.
Rinse with Soothing Salt Water
Once the gel is gone, mix half a teaspoon of salt into eight ounces of warm water. Swish it gently for thirty seconds. I once tried to ‘disinfect’ a whitening burn with harsh alcohol-based mouthwash—big mistake. The alcohol dried out the tissue and made the peeling twice as bad. Salt water, however, is a natural isotonic that helps the cells stabilize. This is a foundational tip in family dentistry for managing any soft tissue trauma. It keeps the area clean without the ‘sting’ of commercial chemicals.
Use Vitamin E as a Liquid Bandage
This is the secret weapon that saved my smile. Go to your local pharmacy and grab a bottle of Vitamin E softgels. Poke a tiny hole in one with a sterilized pin and squeeze the oil directly onto the white areas of your gums. It acts as a protective, antioxidant-rich barrier that speeds up the healing process. When I did this, the tenderness vanished within a few hours, and the white color started returning to a healthy pink by the next morning. It is much more effective than most over-the-counter gels because the oil stays put even with saliva present.
Give Your Mouth a Mandatory Rest Period
You might be tempted to finish the whitening cycle tomorrow to avoid ‘wasting’ the kit, but you must wait. Your gums need at least 48 to 72 hours to fully regenerate the top layer of skin. If you have existing dental work, pay close attention to the margins. Peroxide can seep under the edges if things aren’t perfectly sealed, so caring for crowns during this time means avoiding any further irritants until the gum tissue is firm and healthy again.
Protect Your Gums with the Petroleum Jelly Shield
Next time you decide to whiten, you need to be proactive. Take a Q-tip and apply a thin, precise layer of petroleum jelly (like Vaseline) along your gum line before the whitening strip or tray goes in. This creates a waterproof seal that peroxide cannot penetrate. I started doing this after my ‘ghostly’ incident, and it was a total game-changer. Even if the strip slips slightly, the jelly keeps the chemical off your skin. This is arguably the safest way to use whitening strips without ending up in pain. It’s also vital to maintain a consistent oral health routine to ensure your gums are strong enough to handle the bleaching agents. If your gums are already bleeding or inflamed from poor hygiene, they will react far more violently to the peroxide.
Spot the Signs of a Serious Issue
While most blanching is temporary, you should know when to call a professional. If you see deep ulcerations, if the white patches turn grey or black, or if you have pus, you’ve moved past a simple burn into an infection. If you have a permanent restoration, remember that expert advice on crowns and teeth cleaning is necessary if you suspect the peroxide has caused recession around the base of the tooth. Always prioritize the health of the foundation over the color of the facade.
We need to talk about the ‘white-equals-healthy’ myth that is currently dominating social media. Most people assume that if their teeth are bright and their smile is straight, they are in the clear. But here is a contrarian truth: some of the whitest smiles I have seen are actually hiding significant underlying issues like enamel thinning or gum recession. In my experience, focusing solely on the shade of your teeth is like repainting a house that has a crumbling foundation. You might look great in photos, but the structural integrity is failing. This is where the impact of regular teeth cleaning on overall oral wellness becomes about more than just stain removal; it is about detecting the quiet signs of decay before they become disasters.
Can Professional Cleaning Actually Stop Your Jawbone from Shrinking?
This is a question many patients don’t think to ask until it’s too late. The nuance most people miss is that professional scaling isn’t just for your teeth; it’s for the bone that holds them in place. According to a study published in the Journal of the American Dental Association (JADA), chronic inflammation from untreated gum issues is significantly linked to systemic problems, including cardiovascular disease. When you skip these appointments, bacteria harden into tartar below the gum line, triggering an immune response that can actually lead to bone resorption. Understanding how often you actually need a professional scaling to prevent bone loss is the difference between keeping your natural teeth at sixty or needing a full set of implants. It’s an advanced level of care that goes far beyond the ‘scrubbing’ we do at home.
Avoid the Scrubbing Brush Mentality
One of the most common mistakes I see—the ‘oops’ factor—is the belief that you need to scrub your teeth with force to get them clean. I call this the ‘kitchen tile’ approach, and it is devastating for your enamel. If you are using a hard-bristled brush and a heavy hand, you are essentially sandpapering your protection away. This aggressive habit leads to sensitive roots and can even compromise the margins of expensive dental work. If you have restorations, you need to be especially careful about maintaining your dental crowns dos and donts for best results. Porcelain is strong, but the interface where the crown meets your natural tooth is a high-risk zone for plaque buildup and mechanical wear.
There is also a dangerous ‘set it and forget it’ attitude regarding restorations. A common trap is assuming that because a crown cannot get a cavity, the tooth underneath is invincible. This couldn’t be further from the truth. Plaque can still accumulate at the gum line, leading to ‘recurrent decay’ that eats away at the natural tooth structure supporting the crown. It is vital to seek expert advice on crowns and teeth cleaning to ensure you aren’t ignoring a brewing infection just because you can’t see it. Remember, the goal is longevity, not just a temporary fix. We also cannot ignore the connection between your heart health and your last dental cleaning; your mouth is the gateway to your entire body. Have you ever fallen into the trap of thinking your teeth were healthy just because they looked white? Let me know in the comments below.
Ditch the Scrubbing for Smart Pressure Sensors
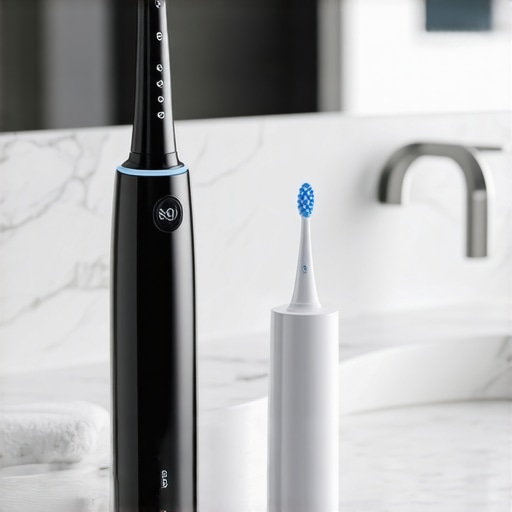
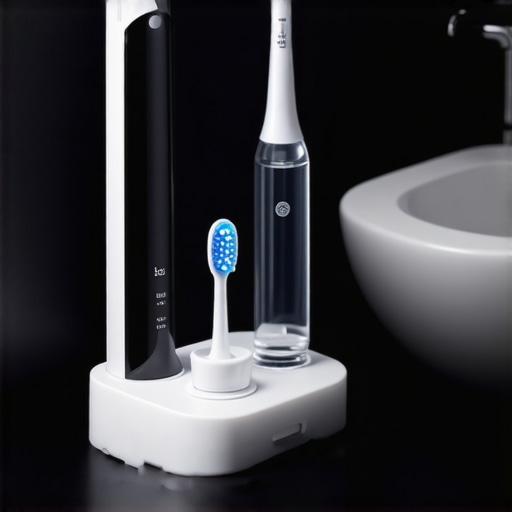
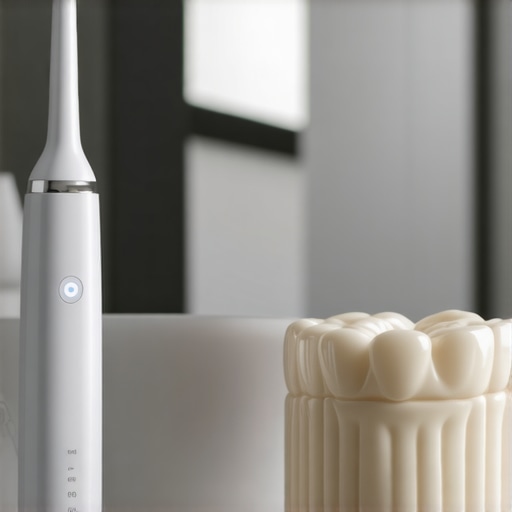
After my whitening mishap, I realized I needed to stop treating my mouth like a DIY project and start using the right tools. I finally invested in a high-quality sonic toothbrush with a built-in pressure sensor. I personally chose the Philips Sonicare ProtectiveClean because it literally pulses and slows down if I press too hard. For years, I was grinding away at my gums, causing recession that no amount of oral health routine adjustments could fix without better hardware. This tool doesn’t just clean; it protects the enamel I have left. I also swear by the Waterpik Aquarius. Unlike traditional floss, which I often found clumsy around my back molars, the pulsating water stream reaches deep into the sulcus. This is critical for maintaining your dental crowns dos and donts for best results because it flushes out the biofilm from those tiny crevices where a brush simply cannot reach.
How can I make my dental work last a decade or more?
Maintenance is where most people drop the ball. We spend thousands on restorations then treat them like they are indestructible. To keep your smile intact, you have to look at the ‘fit’ of your bite. I realized that my morning headaches were actually a sign that I was grinding my teeth, which is a death sentence for porcelain. Investing in a custom-fit appliance is a non-negotiable; you can see how a simple night guard can save you thousands in future dental work by preventing fractures in your expensive crowns. Beyond that, I’ve shifted my professional cleaning philosophy. I now request ultrasonic scaling during my visits. If you haven’t tried it, you should read about why ultrasonic cleaning is faster and more comfortable than hand scaling. It uses high-frequency vibrations to blast away tartar with much less scraping, which is gentler on the margins of your dental work.
Artificial Intelligence is Coming for Your Plaque
Looking ahead, the next five years in family dentistry will be dominated by AI-integrated home care. We are already seeing toothbrushes that sync to apps, providing a 3D map of your mouth to show exactly where you missed a spot. I predict we will soon see ‘bioactive’ toothpastes that don’t just protect enamel but actually help remineralize microscopic lesions before they become cavities. According to the renowned dental researcher Dr. Gordon J. Christensen, the longevity of any restoration depends largely on the ‘marginal integrity’ provided by the clinician and the patient’s daily biofilm control. If you can keep the bacteria from colonizing the edge of your crown, you can vastly extend the truth about how long a porcelain crown actually lasts before replacement.
My advanced tip for you this week: Buy a pack of interdental brushes (the tiny ones that look like Christmas trees). Use them once a day between your back molars and around the base of any crowns. You will be shocked at what your standard brush leaves behind. Try this for seven days and watch how much better your gums look in the mirror. Have you ever considered that your tools might be more important than your technique?
The Brutal Truth About Pursuing a Perfect Smile
After my ghostly incident with whitening strips, my perspective on beauty shifted. Here is what I know now: a bright shade cannot mask a weak foundation. If you are constantly whitening but neglecting your professional checkups, you are essentially painting a house while the foundation is crumbling. Real confidence comes from knowing your mouth is truly healthy, not just superficially bright. I have realized that the heart of family dentistry isn’t about bleaching; it is about preservation and prevention. I now focus on strengthening my oral health routine rather than just obsessing over a shade chart. My lightbulb moment? Healthy gums are the frame of your smile’s portrait; without a solid frame, even the most beautiful art eventually fails.
The Three Essentials for My Daily Smile Defense
I do not leave my dental health to chance anymore. I have curated a toolkit that actually works based on science rather than marketing trends. First, a pressure-sensitive electric brush is vital to stop receding gum lines in their tracks. You can find more effective home practices for family dental health to see why technique always beats force. Second, interdental brushes are the true MVPs for reaching the blind spots between teeth. Finally, a custom night guard is a non-negotiable part of maintaining my dental crowns and preventing fractures. These tools provide the daily support that mimics expert advice on crowns and teeth cleaning in a tangible, accessible way.
Take Charge of Your Oral Future Today
Do not let a minor whitening burn or a pale gum line discourage you from your goals. Our bodies are remarkably resilient, but they require a consistent partner in health. Whether you are currently recovering from a DIY mistake or you are looking into modern smile makeovers, remember that consistency is your greatest ally. You have the power to stop bone loss, prevent decay, and keep your natural teeth for a lifetime. If you are ever in doubt about the health of your tissue, reach out to a professional through our contact page to get a personalized recovery plan. Your smile is worth the extra five minutes of care every night.
#IMAGE_PLACEHOLDER_E#
Have you ever had a dental disaster that forced you to rethink your entire daily routine? Let me know in the comments below!
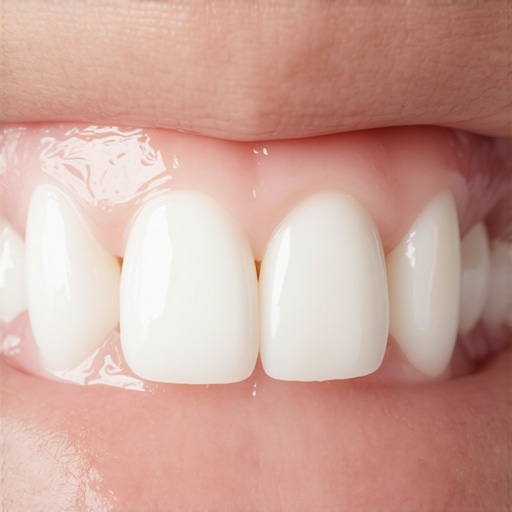
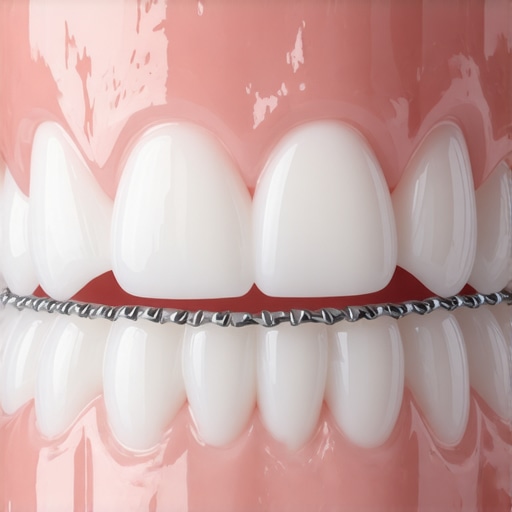
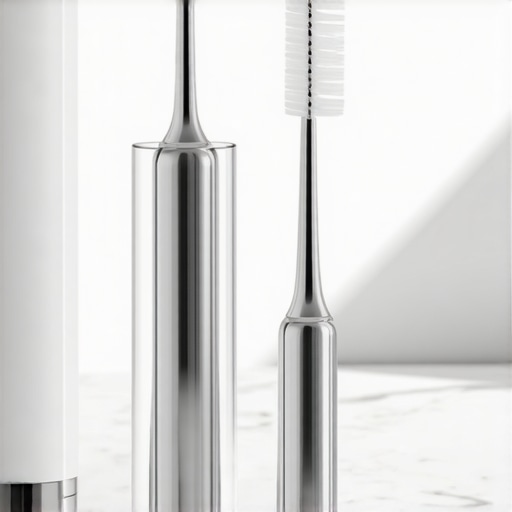 I want you to try this one specific thing: go grab a pack of thin interdental brushes tonight. Use them just once before bed around your hardware, and you will be shocked at what your perfect brushing routine actually left behind. It is the ultimate reality check for your

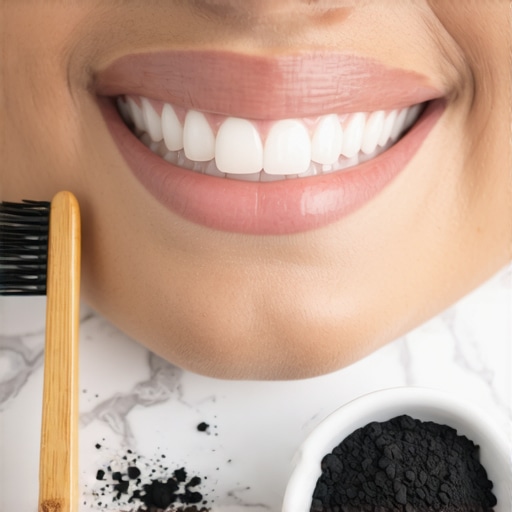
 If your enamel is already thin from the charcoal trend, don’t panic. You can still brighten up safely by exploring