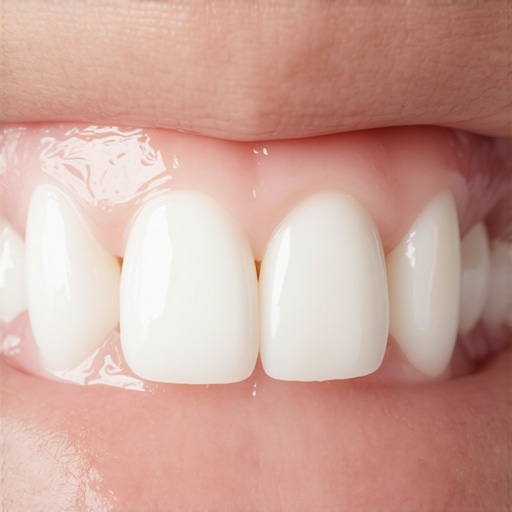
I was leaning over the bathroom sink, iPhone flashlight in one hand and a magnifying mirror in the other, feeling like a total dental detective. My teeth were looking several shades darker than I liked after a particularly heavy coffee month, and that thin metal wire on the back of my lower incisors felt like a giant ‘Do Not Enter’ sign for every whitening product I owned. I remember thinking, ‘Is this it? Am I just destined to have a dingy smile because I wanted my teeth to stay straight after braces?’ It is a frustrating spot to be in. You want that Hollywood glow, but you also do not want to spend five hundred dollars at the dentist’s office or, even worse, wake up with a retainer that is jiggling loose because you used a DIY kit that was way too aggressive for your bonding material. If you have been staring at those rows of whitening strips in the drugstore and wondering if they will actually work around your hardware without leaving weird shadows, I have got your back. We are going to walk through the safe, effective ways to brighten up without compromising your orthodontic investment or your sanity.
Stop Fighting Your Hardware and Start Working With It
Early on in my journey to a brighter smile, I made a mistake that I still cringe about today. I thought I could outsmart the system by using a high-concentration whitening gel and literally painting it onto the fronts of my teeth with a tiny makeup brush, hoping it would not seep around to the back where the wire was. I ended up with what I call ‘lightning teeth’—sudden, sharp zaps of pain every time I breathed in cold air or took a sip of water. It was miserable and totally unnecessary. I had not realized that effective home practices are about consistency and the right technique, not just raw chemical intensity. When you have a permanent retainer, the goal is not just to bleach everything in sight; it is to manage surface stains while keeping the underlying structure healthy. Most people do not realize that some teeth are naturally yellower than others, and trying to force them into a paper-white shade with a retainer in the way can lead to uneven, splotchy results. According to the American Academy of Cosmetic Dentistry, the safest way to approach at-home whitening is through gradual, low-intensity methods that do not overwhelm the tooth’s nerve or the gingival tissue. Have you ever tried a whitening product and regretted it immediately because of the sensitivity? I would love to hear your experiences so we can avoid those pitfalls together.
Will whitening gel actually eat through my retainer bond?
This is the number one fear I hear from folks in our situation. You are worried that the peroxide is going to act like an acid and melt the composite glue holding that wire in place. The good news is that dental-grade adhesive is specifically designed to withstand the harsh environment of your mouth—including the occasional whitening treatment. However, the real danger is not the glue dissolving; it is the plaque hiding around the wire. If you do not know how to clean under a permanent retainer properly before you start whitening, you are just bleaching the gunk, which leaves a yellow shadow underneath once the plaque is finally removed. We want a uniform glow, not a patchy mess. Before we move into the actual products that work, you have to commit to a clean surface first. Think of it like painting a wall—you would not put a fresh coat of white over a layer of dust, right? The same logic applies to your pearly whites. [image_placeholder_1]
Get Rid of Plaque Before Touching the Gel
The first and most critical step isn’t actually whitening; it is deep cleaning. If you have a permanent retainer, that metal wire is a magnet for calculus and tartar. If you apply whitening gel over a layer of buildup, you are essentially trying to bleach a rock sitting on top of your tooth. Once that buildup eventually comes off at your next dental checkup, you will be left with a yellow or brownish ‘ghost’ of the retainer’s shape. This is why I always recommend scheduling a professional cleaning before starting any whitening regimen. A professional prophy cleaning removes what your toothbrush cannot touch, giving you a smooth, clean canvas. I remember one time I skipped this step, thinking my brushing was ‘good enough.’ After two weeks of whitening, I finally used a floss threader and pulled away a piece of stained tartar, only to find a perfectly white spot surrounded by a slightly darker ring where the gel hadn’t quite reached the enamel. It looked ridiculous.
The shadow effect you want to avoid
When plaque sits around the bond of your retainer, it creates a barrier. Even if you are whitening the front of the tooth, the oxygen molecules in the peroxide need to penetrate the enamel evenly. To ensure you are prepped, make sure your oral health routine is strengthening your smile every day with focused flossing around the hardware. Use a water flosser or specialized threaders to clear the debris from the ‘nooks and crannies’ where the wire meets the composite glue.
Why Custom Trays Beat Drugstore Strips for Hardware
If you have a permanent retainer, generic whitening strips can be a nightmare. They are designed for ‘perfect’ teeth and often don’t adhere well to the irregular surfaces created by bonding material. I once tried a standard strip and it kept slipping, eventually getting stuck to the back of my teeth. Trying to peel a sticky, peroxide-laden strip off a metal wire is an experience I wouldn’t wish on anyone. This is where you should learn how to choose between professional whitening and at-home custom trays. Custom trays are molded to your exact teeth, meaning they can be trimmed to fit perfectly against the gum line and accommodate the slightly thicker profile of your lower teeth where the wire sits.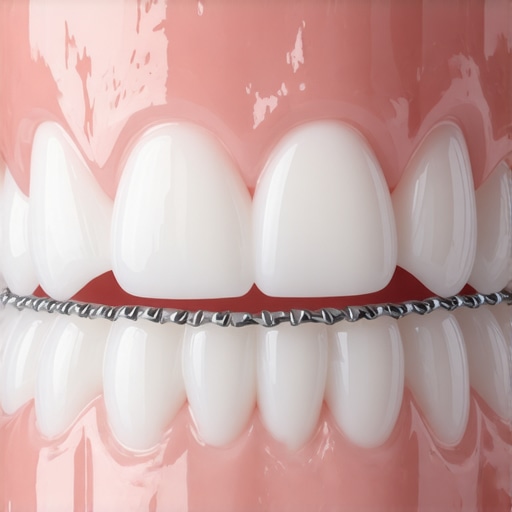
Customizing your fit for a tighter seal
A custom tray keeps the whitening agent contained on the front surfaces of your teeth, preventing it from oozing toward the back where the retainer lives. While the adhesive is strong, you don’t necessarily want high-concentration peroxide sitting on your gingival tissue or the back of your teeth for an hour. If you do go the strip route, look for ‘dry’ or ‘non-slip’ versions and use a pair of clean nail scissors to trim them so they don’t overlap onto the wire area. Knowing the safest way to use whitening strips without damaging your gums is all about precision and avoiding the ‘more is better’ mentality.
Calm the Nerves While Brightening the Enamel
If you feel that sharp ‘zing’ of sensitivity, your enamel might be thinner than you realize. You don’t have to quit; you just have to pivot. I found that switching to a desensitizing toothpaste two weeks before starting my whitening made a world of difference. It’s like pre-gaming for your teeth. If you are worried about chemicals, there is a secret to keeping your smile white without expensive kits, which involves using low-abrasion polishing and focusing on preventing new stains from coffee or tea. By managing the intensity and frequency, you protect the bond of your retainer while still achieving that gradual lift in shade.
The biggest myth I see circulating in dental forums is that once you get a crown or a permanent retainer, that specific area of your mouth is ‘safe’ from decay. In fact, many people believe a crown is an indestructible shield. In my experience, the opposite is true—restorations actually require more vigilance than your natural enamel. While the porcelain itself won’t rot, the tiny interface where the crown meets your gum line is a high-stakes zone for bacteria. If you have been told that crowns are ‘set it and forget it’ solutions, you have been misled. We need to talk about marginal integrity and why understanding the role of crowns in modern smile makeovers involves realizing they are part of a living, changing environment.
Stop Treating Your Crowns Like Indestructible Shields
Here is a contrarian take: your dental hardware is only as good as the gum tissue supporting it. I have seen patients spend thousands on beautiful restorations only to neglect the margins, leading to what dentists call ‘recurrent decay.’ This is the ‘Oops’ factor that catches people off guard. You might be brushing regularly, but if you aren’t focused on the seal, you’re essentially leaving the back door open for plaque. One common mistake is using highly abrasive ‘whitening’ pastes on porcelain. Not only can these fail to change the color of the ceramic, but they can also wear down the glaze, making the crown more susceptible to picking up stains from your morning brew. I learned the hard way that the reason your coffee habit is ruining your crowns’ sealant is often due to this microscopic scratching of the surface.
Why does my crown feel like it has a click when I bite?
If you have ever felt a slight movement or a clicking sensation, do not ignore it. This often indicates that the cement has started to wash out, creating a microscopic gap. According to a study published in the Journal of Prosthetic Dentistry, marginal leakage is one of the primary causes of secondary caries under restorations. If liquid can get in, bacteria can too. This is exactly why your dental crown feels like it has a click when you bite, and it is a signal to act before the underlying tooth structure is compromised. You want to catch this while it is a simple re-cementing job rather than a full replacement. Have you ever felt a weird ‘zing’ or a click and just hoped it would go away? Let me know in the comments, because that’s a trap we’ve all fallen into.
Look for the Dark Line Before It Becomes a Problem
A sophisticated nuance many patients overlook is the health of the gingival margin around their hardware. If you notice a gray or dark shadow appearing at the base of a tooth, it might not just be an aesthetic issue. While sometimes it is just the metal framework of an older style restoration showing through, it can also signify gum recession or a failing seal. This is a huge part of expert advice on crowns and teeth cleaning for lasting results. You should be specifically checking those borders during your oral health routine. Proper maintenance means more than just a quick scrub; it requires precision flossing and perhaps an interdental brush to ensure the area stays plaque-free. Remember, caring for crowns means protecting the foundation, not just the visible ‘tooth.’
I have realized that my standard toothbrush, no matter how high-tech it claims to be, is often too bulky to navigate the tight corners of my permanent retainer. This is where the interdental brush becomes your best friend. I personally use a 0.4mm size because it slides right under the wire without forcing the metal. It is a total game-changer for maintaining your dental crowns and ensuring no trapped food starts a cavity in the one spot you cannot easily see. If you really want to level up your care, look into why ultrasonic cleaning is faster and more comfortable than hand scaling, because having that professional baseline twice a year makes your at-home job a hundred times easier. For my own crowns, I have ditched the abrasive whitening pastes entirely. I stick to a pH-neutral gel that does not scratch the porcelain glaze, as those microscopic scratches are what lead to permanent staining later on. According to renowned prosthodontist Dr. Gordon J. Christensen, the longevity of these restorations depends almost entirely on the patient’s ability to manage the bacterial load at the margin through consistent, low-abrasion cleaning.
How do I maintain my dental hardware over the long haul?
The answer is a deliberate mix of technology and technique. You need to be thinking about how often you actually need a professional scaling versus just a quick surface polish. I suggest using a water flosser on the pulse setting specifically aimed at the retainer bond areas. It flushes out the microscopic debris that traditional string might miss. Looking ahead, I predict we are less than five years away from having AI-powered smartphone apps that can use the phone camera to scan our own teeth for marginal gaps or failing cement before we even feel a click. Until that technology is in our pockets, your best defense is an oral health routine that prioritizes the gum line foundation. 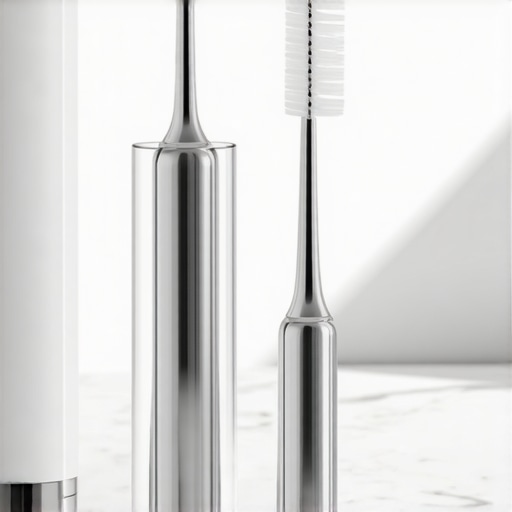 I want you to try this one specific thing: go grab a pack of thin interdental brushes tonight. Use them just once before bed around your hardware, and you will be shocked at what your perfect brushing routine actually left behind. It is the ultimate reality check for your home practices and the best way to ensure your investment lasts decades instead of years.
The Lessons I Learned the Hard Way About Dental Hardware
One thing I realized late in my journey was that whitening isn’t a one-and-done event; it is a maintenance cycle that requires a delicate touch. I spent years thinking my permanent wire was a barrier to a bright smile, but it is really just a specialized area that needs its own set of rules. For instance, I learned that maintaining your dental crowns with simple dos and don’ts is more about what you avoid—like biting into ice or hard candy—than just how hard you scrub. Another lightbulb moment for me was discovering that natural toothpastes without fluoride can actually be a risk, even for adults, because fluoride is essential for remineralizing the enamel right at the edge of your retainer bond. Finally, I wish someone had told me sooner that the benefit of using an alcohol-free mouthwash goes beyond fresh breath; it keeps the gingival tissue around your crowns from becoming inflamed, which prevents that dreaded receding gum line look.
Tools That Actually Make Maintenance Easier
When you are looking to level up your toolkit, I personally recommend focusing on precision rather than power. First, instead of using generic kits, you should choose between professional whitening and at-home custom trays because a perfect fit is the only way to keep gel away from your retainer wire while ensuring even coverage. Second, keep a water flosser on your counter; it is the most reliable way to flush out microscopic debris from the ‘tunnel’ behind your lower teeth. [image_placeholder_wrap] Third, prioritize building a lifetime of healthy smiles through a family dentistry focus by scheduling regular exams that check the integrity of your bonding material. These tools transformed my routine from a stressful, confusing chore into a simple five-minute daily habit that actually delivers results.
Your Path to a Brighter and Healthier Future
You do not have to choose between having straight teeth and having a white smile. By integrating these specific techniques into your daily **teeth cleaning** and remaining patient with the process, you can achieve a Hollywood glow without risking your orthodontic investment. Your smile is a long-term project, and every small step you take to protect your hardware today pays off in decades of confidence. Start by grabbing those interdental brushes tonight and see exactly what your standard toothbrush has been missing. Have you ever felt like your permanent retainer was the only thing standing between you and a brighter smile? Let me know your experience in the comments below!