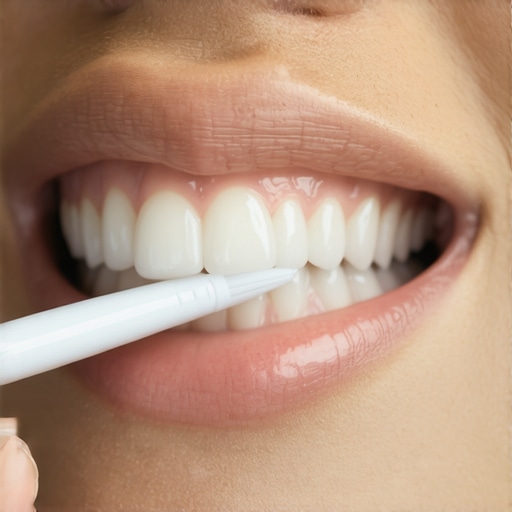
I remember one Tuesday morning specifically. I had this crater-like canker sore right on the inside of my lower lip, and like a fool, I went in with my usual aggressive brushing technique. One slip of the wrist—just one—and the bristles raked right across that raw, white spot. I literally saw stars. It’s that sharp, electric jolt that makes you want to throw your toothbrush across the bathroom and just give up on oral hygiene until the thing heals. But we can’t do that, can we? Dealing with these little ulcers is a rite of passage for many of us, but it doesn’t have to mean pausing your routine.
Stop Treating Your Mouth Like a Battlefield
We’ve all been there, hovering over the sink, dreading the moment the minty foam hits the sore. It’s a catch-22: you want a clean mouth to help it heal, but the act of cleaning feels like self-inflicted torture. I used to make the mistake of thinking I just had to ‘tough it out.’ I’d use my old, stiff brush and that intense whitening paste, thinking the ‘burn’ meant it was working. Spoiler alert: it wasn’t. In fact, learning why your dentist wants you to stop using hard bristles was a lesson I learned the hard way after prolonging my own misery for a week. Today, I’m going to share the exact tweaks I made to my oral health routine so you can keep your teeth pearly white without crying into your bathroom mirror. Have you ever had a sore so bad you actually skipped brushing for a day?
Can you really get a deep clean without aggravating the sore?
You might be skeptical. You might think that if you aren’t scrubbing hard, you aren’t really cleaning. I felt the same way until a dental hygienist friend pointed out that canker sores—or aphthous ulcers—are often aggravated by the very SLS (Sodium Lauryl Sulfate) found in most foaming toothpastes. According to the Mayo Clinic, these sores can be triggered by minor injuries or even emotional stress, and using harsh chemicals or abrasive tools only adds fuel to the fire. If you’ve been struggling, you might find that the salt water trick that calms gum inflammation is a much better starting point than a high-intensity scrub. I’ll show you how to swap out the ‘burn’ for a more strategic approach, ensuring your teeth cleaning secrets include comfort as a top priority. Let’s dive into the physical adjustments you need to make to your grip and your gear to survive this week.
Swap Your Gear for an Extra-Soft Bristle Brush
The first rule of engagement is to downgrade your gear. If you’re using a medium or hard brush, you’re essentially bringing a power tool to a delicate restoration project. You need bristles that feel more like a whisper than a scrub. I’ve found that high-quality manual brushes offer far more control than electric ones when you’re trying to navigate a ‘minefield’ in your mouth. This is a perfect example of why manual toothbrushes are still effective if you use the right technique. The flexibility allows you to tilt the head away from the ulcer while still reaching the gumline of the neighboring teeth.
Hold the Brush Like a Fine Art Tool
Instead of gripping the handle with your whole fist—the ‘caveman grip’—try holding it with just your fingertips, similar to how you’d hold a pencil or a violin bow. This naturally limits the amount of pressure you can apply. I remember a time when I had a sore right on my soft palate; I was so afraid of hitting it that I used only my thumb and index finger to brush. It took longer, but it was the first time I didn’t end up bleeding. This lighter touch is one of those essential teeth cleaning secrets that protects your enamel and your sanity simultaneously.
Skip the Foam and Go SLS-Free
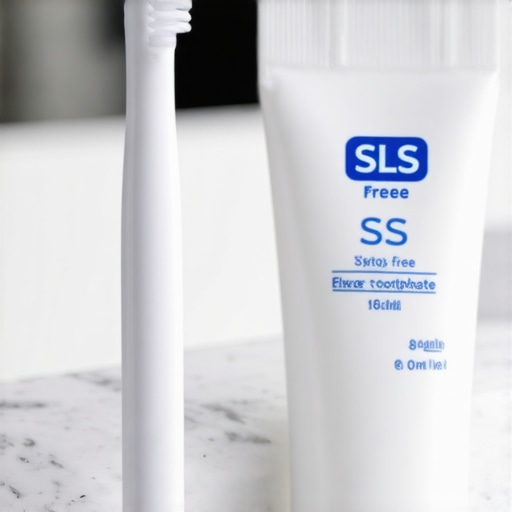
That satisfying foam we’re all used to is caused by Sodium Lauryl Sulfate (SLS). While it feels like it’s cleaning, it’s actually a surfactant that can strip the protective lining of your mouth, making a canker sore feel ten times worse. If you can’t find a specialty paste, just use a tiny smear—half the size of a pea. Reducing the foam means you can see exactly where the bristles are going. Furthermore, consider the benefit of using an alcohol-free mouthwash for dry mouth as a post-brushing step. It provides a moisture barrier that prevents the sore from rubbing against your teeth, which is often where the secondary pain comes from.
Create a Physical Barrier with Your Other Hand
This sounds simple, but it’s a game-changer. Use the index finger of your non-brushing hand to gently pull your cheek or lip away from the sore. By creating a physical ‘buffer’ zone, you give the brush a clear path to the teeth without any risk of the plastic head bumping into the sensitive tissue. When I was dealing with a stubborn ulcer last year, I actually used a clean piece of gauze to hold my lip back. It gave me the traction I needed to get a deep clean around my molars without a single ‘ouch’ moment. This level of care is vital, especially when caring for crowns or other dental work that requires meticulous hygiene regardless of how your gums feel.
Prioritize the Safe Zones and Rinse First
Don’t start brushing right next to the sore. Start on the opposite side of your mouth to get the ‘rhythm’ of the gentle pressure down. By the time you reach the sensitive area, your hand is already tuned into the softer movement. Also, never go in dry. Use the salt water trick that calms gum inflammation before you begin. It cleanses the area and provides a very slight numbing effect that makes the entire oral health routine much more manageable. Think of it as a pre-game stretch for your mouth; it prepares the tissue for the activity ahead without causing trauma.
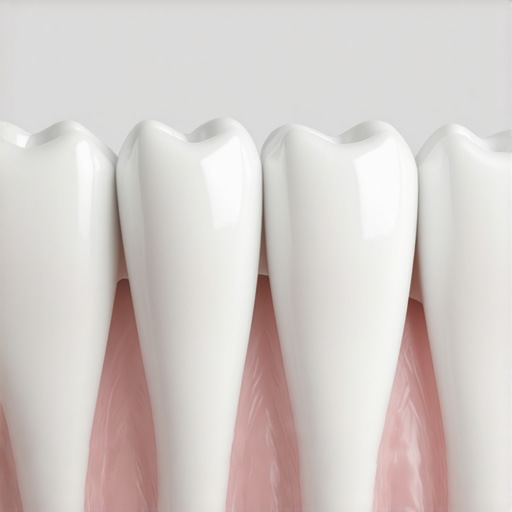
Many of my readers assume that once a tooth is capped, it becomes a sort of ‘indestructible’ pillar in their mouth. This is perhaps the most dangerous myth in family dentistry. In reality, the margin—that microscopic line where the porcelain crown meets your natural gum tissue—is the most vulnerable real estate in your entire mouth. While everyone tells you to ‘brush harder’ to keep things clean, in my experience, this ‘more is better’ philosophy is exactly what leads to premature failure of expensive work. According to research published by the American Dental Association (ADA), using high-abrasivity toothpastes—especially the trendy charcoal or whitening varieties—can actually micro-scratch the surface of your restorations and accelerate gum recession. This is the ultimate ‘oops’ factor: you think you’re protecting your investment, but you’re actually polishing away its lifespan.
Stop Scrubbing Like You’re Sanding a Deck
The trap most people fall into is equating a ‘squeaky clean’ feeling with health. If your teeth feel ‘squeaky’ after brushing, you might have actually stripped away the pellicle, a thin protective layer of proteins that helps keep your enamel and crown surfaces safe. When you have a canker sore or sensitive gums, this aggressive approach doesn’t just hurt; it creates micro-trauma that bacteria love to exploit. Instead of a heavy-handed scrub, focus on caring for crowns with a focus on the gumline, using soft, circular motions. I’ve seen countless patients come in with ‘notched’ teeth near the gums—a condition called abrasion—simply because they thought they were being thorough.
How do you know if your crown has a microscopic leak?
It’s a sophisticated question that most people don’t ask until it’s too late. A ‘leak’ isn’t always a gaping hole; it can be a tiny failure in the cement seal that allows sugars and bacteria to seep underneath. If you feel a sharp ‘zing’ when drinking cold water or a dull ache when biting down on something sticky, you aren’t just dealing with temporary sensitivity. You need to know how to tell if your dental crown has a small leak before the underlying natural tooth structure decays to the point of needing a root canal. This is where expert advice on crowns and teeth cleaning for lasting results becomes your best defense. You cannot fix a leaky seal with better brushing; you need a professional to reseal that barrier.
The Diagnostic Power of Your Regular Cleaning
We often view a trip to the hygienist as a cosmetic ‘buff and shine,’ but the impact of regular teeth cleaning on overall oral wellness is actually about early detection. Your toothbrush is a daily maintenance tool, but it lacks the reach of clinical instruments. Understanding what a professional prophy cleaning removes that your toothbrush can’t touch—like hardened tartar (calculus) that acts as a wedge between your gum and your crown—is the key to longevity. This is why I always emphasize teeth cleaning secrets like proper flossing angles; it’s about disrupting the biofilm without traumatizing the tissue. Have you ever fallen into the trap of thinking a crown meant you could ignore that specific tooth? Let me know in the comments below.
The Tools I Trust to Keep My Smile From Falling Apart
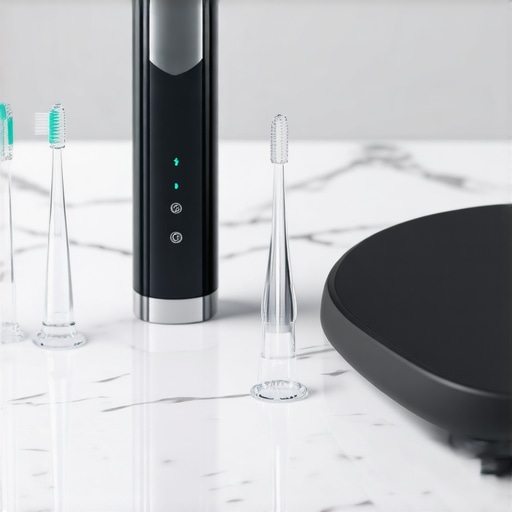
I’m not just talking about the standard hardware here; I want to show you the specific gear I’ve integrated into my own routine to keep my dental work from failing. For me, a water flosser isn’t a luxury—it’s a requirement. I use it on the lowest pressure setting whenever I have a flare-up, which allows me to stay consistent with maintaining your dental crowns dos and donts for best results without putting mechanical stress on a sore spot. It’s about the ‘flush,’ not the ‘scrub.’ By moving the stream of water along the gumline, you’re effectively removing the biofilm that causes inflammation in the first place.
Reach the Tight Gaps That Floss Simply Ignores
While most people think traditional floss is the gold standard, I’ve found that interdental brushes—those tiny ‘Christmas tree’ shaped tools—are far more effective for cleaning around the base of my crowns. Dr. Gordon Christensen, a world-renowned expert and founder of the Clinicians Report, has frequently highlighted that interdental brushes can be more efficient than flossing for plaque removal, especially in the larger embrasure spaces between back molars. I personally use them because they provide a 360-degree sweep of the space that a flat piece of string just can’t touch. This is one of those expert advice on crowns and teeth cleaning for lasting results that I wish I had known ten years ago.
How do I maintain my dental crowns over a lifetime?
The secret isn’t in what you do once a month, but what you do every single night. Beyond the cleaning tools, I’ve added a customized night guard to my oral health tips every family should follow in 2025 list. Why? Because most crown failures aren’t caused by decay alone—they’re caused by the invisible pressure of nighttime grinding. I learned that how a simple night guard can save you thousands in future dental work is the single best insurance policy you can buy. It keeps the porcelain from chipping and ensures the seal remains intact under the heavy loads of bruxism. Regular professional oversight is the other half of the equation, as the impact of regular teeth cleaning on overall oral wellness ensures that any tiny issues are caught before they become catastrophic breaks.
The Future of Dentistry is Getting Way More Personal
Looking ahead, I predict we are moving toward a world where your toothbrush doesn’t just vibrate—it analyzes. We’re already seeing the beginning of AI-integrated brushes that can detect changes in gum color or pinpoint exactly where you’re applying too much pressure near a restoration. We will likely see more widespread use of biocompatible 3D-printed materials, making understanding the role of crowns in modern smile makeovers even more accessible and long-lasting. For now, my challenge to you is this: tonight, try using a water flosser or an interdental brush on just your back molars and see the difference it makes in how clean your mouth feels the next morning. It’s a small tweak that yields a massive payoff in comfort and longevity.
What I Finally Realized About Protecting My Dental Work
Over the years, I’ve had my fair share of ‘lightbulb’ moments that changed how I approach my bathroom sink. First, I stopped viewing my gums as a surface to be scrubbed and started treating them like a living tissue that needs to be nurtured. I also learned that ‘squeaky clean’ is usually a sign I’ve gone too far and stripped away my natural protection. Consistency beats intensity every time; a gentle three-minute session is worth far more than a thirty-second power scrub. Finally, I realized that my dentist is my strategist, not just my repairman, which is a core tenet of family dentistry focus building a lifetime of healthy smiles.
The Essentials I Keep in My Medicine Cabinet
I don’t believe in a cluttered counter, but these specific items are non-negotiable for me. I always keep an extra-soft manual brush for those ‘sensitive’ days when a canker sore decides to appear. I’ve switched entirely to a non-SLS toothpaste to prevent that chemical burn, and I keep a pack of interdental brushes for reaching the gaps where my crowns meet. #IMAGE_PLACEHOLDER_E# Most importantly, I never sleep without my custom-fitted protection, because knowing how a simple night guard can save you thousands in future dental work has given me more peace of mind than any whitening strip ever could.
Take the Pain Out of Your Morning Ritual
Your journey to better health shouldn’t be defined by how much discomfort you can tolerate. By making these small physical adjustments—from your grip to your gear—you turn a painful chore into a sustainable practice. Remember that maintaining your dental crowns dos and donts for best results isn’t about being perfect; it’s about being mindful. Give your mouth the grace it needs to heal, and you’ll find that a healthy oral health routine becomes something you actually look forward to. Have you found a specific brand of toothpaste that doesn’t sting when you have a canker sore? Let me know in the comments below!