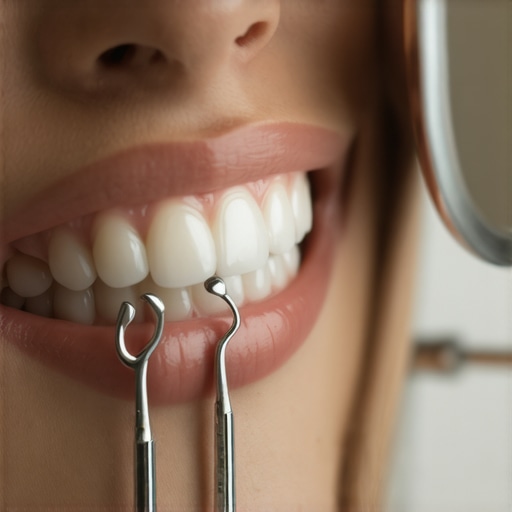
Ever had that sinking feeling when you bite into something and realize a small, jagged piece of your tooth has broken off? I remember the first time it happened to me—suddenly, every bite felt like I was risking a cut, and I was worried about making things worse. It was one of those moments where you wish you had a quick, reliable fix in your back pocket, just in case.
Why a Sharp Tooth Chip Can Become a Real Problem — Fast
Chipped teeth are more than just a minor cosmetic annoyance. A jagged edge can cause discomfort, cut your tongue or gums, and even lead to further damage if not addressed promptly. Many folks don’t realize that without immediate attention, small chips can turn into big problems, like infections or nerve damage. That’s why knowing how to temporarily smooth a sharp edge at home can be a lifesaver, buying you precious time before professional care.
Ever Wonder If DIY Fixes Are Safe or Just a Quick Fix?
Personally, I once used superglue to patch up a chipped tooth—bad idea! Early on, I thought I was saving myself a trip to the dentist, but I ended up making things worse. It’s a common mistake many make when rushing to fix dental mishaps. I learned the hard way that some DIY fixes aren’t just ineffective—they can be dangerous. So, I’m here to share practical, safe methods I’ve tested myself, so you don’t have to go through the same mistakes. If you’re navigating an urgent situation, check out expert advice on teeth repairs for more insights.
Now, let’s dive into the essentials of creating a safe, temporary fix for that sharp edge. Whether it’s for comfort or safety, I’ll guide you step-by-step so you can handle this at home with confidence, knowing your smile is protected until you see your dentist.
}
Prep Your Workspace and Gather Essentials
Start by cleaning your hands thoroughly with soap and water to prevent infection. Then, rinse your mouth with warm water to remove debris and make it easier to work on the chipped area. Keep a hand mirror handy to see the affected tooth clearly. Have supplies like dental wax, a clean cotton swab, and over-the-counter temporary dental repair kit ready. I once managed to do this at home when my son chipped his front tooth before a family dinner, and having everything organized kept the process smooth and safe.
Assess the Damage and Protect Your Mouth
Use a mirror to examine the chip: Is it causing a jagged edge or sharp point? If the edge is rough or sharp, it’s important to smooth it out to prevent cuts on your tongue or gums. Effective home practices for oral health help maintain safety during this process. If the chip is small and not causing discomfort, you might only need to monitor it. For larger chips, consider seeking professional help quickly.
Buffer the Sharp Edge Gently
Use a Sugar-Free Dental Wax or Similar Material
Break off a tiny piece of dental wax or use orthodontic wax from a pharmacy. Roll it into a small ball and press it gently over the sharp edge to cover it. This acts as a temporary shield, preventing cuts and discomfort. When I last used this method for my cousin’s chipped incisor, it was a game-changer—immediately reducing the sharpness and giving us time to plan the next steps.
Alternative: Use a Cotton Swab and Toothpaste
If dental wax isn’t available, dab a tiny bit of fluoride-free, non-gel toothpaste onto a soaked cotton swab and carefully apply it to the sharp edge. Mold it into a small blob to soften or smooth out the jagged tip. This isn’t a permanent fix but provides quick relief. Remember, avoid superglue or any inappropriate adhesives—these can cause serious harm, as I learned the hard way.
Evaluate If the Smoothening Is Adequate
After applying the temporary covering, check if the sharpness has decreased sufficiently. Run your tongue gently over the area to test. If it still feels prickly or uncomfortable, reapply the wax or toothpaste. This step ensures you’re creating a safe barrier to prevent damage to soft tissues.
Prepare for Professional Treatment
This home fix is just a temporary measure. Schedule a dental appointment promptly to have the chip properly assessed and restored. During a routine visit, your dentist might recommend options like bonding, crowns, or veneers to restore your tooth’s function and appearance. Proper sealing and restoration prevent further deterioration and ensure long-term health, which is especially important if the damage affects the biting surface.
By following these steps, you can handle a sharp, chipped tooth safely at home, much like I managed during a busy family gathering. Remember, quick action can prevent additional injury and make your next visit to the dentist smoother and more effective. For additional tips on maintaining your oral health routine, visit daily oral health tips.
When it comes to dental health, many people believe they understand the basics—brushing twice daily, flossing, and visiting the dentist regularly. However, beneath these common practices lie misconceptions and overlooked nuances that can significantly impact your oral health. Let’s dig deeper into some of these misconceptions and advanced mistakes that even well-informed individuals often make, challenging popular beliefs with expert insights.
Why Relying Solely on Swishing Mouthwash Can Mislead Your Oral Hygiene
Most think that a quick rinse after meals or brushing is enough to keep bacteria at bay. However, professional studies show that mouthwash should complement, not replace, mechanical cleaning methods. Overconfidence in rinsing alone can lead to plaque buildup in hard-to-reach areas, increasing the risk of cavities and gum disease. This misconception emphasizes the importance of understanding what effective cleaning really entails—it’s about the combination of brushing, flossing, and professional cleanings, not just mouthwash.
Common Myths About Crowns That Can Lead to Costly Mistakes
Many patients believe that once a crown is placed, it requires no further attention unless it falls out or causes pain. Conversely, the expert consensus indicates that crowns require ongoing maintenance—regular check-ups, proper oral hygiene, and avoiding hard foods. Neglecting these can result in micro-leaks, decay under the crown, or even fracture over time. This misconception can lead to premature crown failure, unnecessary expenses, and discomfort, highlighting the importance of understanding the subtleties of crown maintenance.
Are Electric Toothbrushes Truly Superior for Everyone?
While many marketing campaigns advocate electric brushes as the gold standard, evidence suggests that manual brushing, if done correctly, can be equally effective. According to a comprehensive review documented in dental research, the key lies in user technique rather than the device itself. Over-reliance on powered brushes without proper technique can lead to ineffective cleaning, especially if individuals neglect to brush thoroughly or for the recommended duration. Recognizing this nuance can save you money and improve your actual oral hygiene practices.
Should Flossing Be Your Only Weapon Against Gum Disease?
Though flossing is heavily promoted, some experts argue that focusing solely on flossing may provide a false sense of security. In fact, advanced advice suggests that interdental brushes, water flossers, and proper brushing techniques might be more effective in removing plaque from complex root surfaces. Overlooking these alternatives can leave certain areas unclean, emphasizing that an effective oral hygiene routine involves diversified tools tailored to individual needs.
Remember, many of these misconceptions originate from simplified health advice or marketing hype, but achieving optimal oral health requires understanding the deeper nuances. Have you ever fallen into this trap? Let me know in the comments. For more expert tips on building a lifetime of healthy smiles, visit family dentistry insights.
Maintaining optimal oral health and ensuring your dental treatments like crowns stand the test of time requires more than just good brushing habits. Having the right tools and approaches can make a significant difference in your long-term results. I’ve personally optimized my oral care routine by integrating specific equipment and methods that target durability and efficiency.
Invest in a High-Quality Electric Toothbrush
While manual brushes can be effective when used correctly, I find that a reliable, electric toothbrush with a timer and pressure sensor, like the Oral-B Genius X, enhances plaque removal, especially around crowns and bridges. The oscillating-rotating brush heads are scientifically proven to be more effective in reducing plaque and preventing gum disease (source). This device ensures consistent brushing, which is crucial for areas prone to plaque buildup. I personally appreciate the app connectivity that guides my technique, helping me maintain thorough cleaning at home.
Use Flossing Alternatives for Effective Interdental Care
Flossing is essential, but I prefer interdental brushes like the TePe Interdental Brushes for their superior ability to clean between wider spaced teeth and around crowns. These small, firm brushes reach areas that traditional floss might miss, protecting against micro-leakage and decay beneath restorations. I recommend selecting the appropriate size for your teeth, which can be easily done during your routine dental checkups. Over time, this method has helped me significantly reduce gum inflammation and preserve crown margins.
Incorporate Smart Monitors and Apps
Modern dental tech goes beyond basic tools. I’ve integrated Bluetooth-enabled devices like the BrushLink that sync with my smartphone app, providing real-time feedback on my brushing technique and duration. This data-driven approach ensures I don’t neglect hard-to-reach areas, especially as I age. Future trends suggest even more personalized dental monitoring will become standard, with AI-powered devices analyzing and suggesting improvements for better long-term results.
Keep Your Tools Clean and Calibrated
Maintaining your equipment isn’t just about having them; it’s about proper care. Regularly replacing brush heads, cleaning interdental brushes, and calibrating electric devices prevent bacterial growth and ensure consistent performance. Additionally, I use a UV sanitizer for my electronic devices, which is recommended by dental professionals for long-term maintenance (source). This small investment extends the lifespan of my tools and ensures my oral health routine remains effective.
Predictions for the Future of Dental Tooling
Emerging technologies like AI-driven toothbrushes and personalized oral health analytics promise to revolutionize long-term dental maintenance. As these tools evolve, I expect they will offer even more tailored recommendations, helping us detect early signs of issues like crown micro-leaks or gum recession. Staying abreast of these innovations and adopting them early can serve as a proactive defense, saving costs and discomfort down the line.
How do I keep my dental tools working over time?
The key is consistency in cleaning, replacing, and monitoring your tools. Regularly replacing brush heads—about every three months—and properly storing interdental brushes in a dry, sanitized environment makes a huge difference. It’s also wise to schedule regular professional checkups where your dentist can assess the condition of your crowns and provide personalized advice for maintaining your oral equipment. Want to boost your routine? Try integrating a Bluetooth-enabled toothbrush and tracking your progress with an app for a month. See how this combination can boost your long-term oral health and crown longevity. For more insights, visit family dentistry resources.
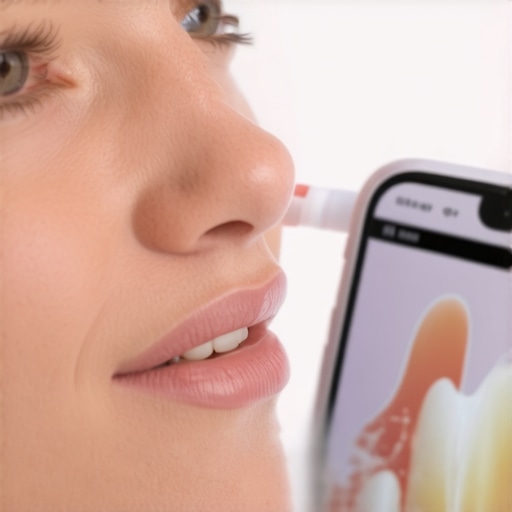
Proper maintenance of dental tools is essential for long-term success. An electric toothbrush, interdental brushes, and digital monitors can collaboratively improve your oral health, particularly when caring for crowns and restorations. Regularly inspecting and replacing equipment, coupled with professional cleanings, keeps your smile shining for years to come.
What I Wish I Knew Before Rushing to Fix a Chip
- I realized that attempting DIY fixes like superglue could severely damage my tooth, making professional repair more difficult and costly later. Patience and professional advice are invaluable.
- Understanding the importance of proper tools, like dental wax or safe substitutes, can prevent additional injury and buy you valuable time until you see a dentist.
- I learned that softening a jagged edge isn’t just about comfort—it’s about protecting soft tissues from cuts and infections, which can escalate quickly without prompt care.
- Neglecting small chips can lead to bigger problems, including nerve damage or infection, emphasizing the need for early intervention even if the damage seems minor.
- Regularly educating myself on safe, at-home emergency measures has boosted my confidence and reduced panic during urgent dental mishaps.
My Go-To Resources for Dental DIY Confidence
- Expert advice on crowns and teeth cleaning: Trusted for professional insights that clarify what’s safe and what’s not.
- Effective home practices for family dental health: A comprehensive guide to safe at-home care that boosts long-term oral health.
- Maintaining your dental crowns: Practical tips that help extend the life of restorations and prevent emergencies.
- Oral health tips for every family: Staying proactive is easier when armed with current, validated advice.
Keep Smiling, No Matter the Challenge
Taking control of your dental emergencies isn’t just about handling immediate discomfort—it’s about empowering yourself to protect your smile for years to come. Remember, the key is knowing when to act and when to seek professional help. Don’t let a small chip turn into a big problem; instead, use the wisdom gained to stay confident and prepared. Your smile is your signature—treat it with care and curiosity, and enjoy the journey to healthier teeth and gums. What’s the biggest lesson you’ve learned about handling dental mishaps at home? Drop your story below and join the conversation!